How to Use a Laser Level for Home DIY and Framing: UK Guide
How to Use a Laser Level for Home DIY and Framing: The Ultimate UK Guide
Whether you are a seasoned tradesperson or a weekend DIY enthusiast tackling a Victorian terrace renovation, precision is the difference between a professional finish and a costly mistake. For decades, the humble spirit level was the gold standard in British toolboxes. However, as UK home renovation trends lean towards open-plan living and complex kitchen installations, the margin for error has shrunk. If you are still squinting at a glass bubble, you are working harder, not smarter.
In this comprehensive guide, we will explore how to use a laser level to transform your home projects. From mastering wall framing to perfectly aligning kitchen cabinets, we will demonstrate why high-spec, compact tools like the Bosch Atino are rendering the bulky DeWalt units and generic Screwfix alternatives obsolete for the modern UK household.
Key Takeaways
- Efficiency: Laser levels can reduce layout time by up to 50% compared to traditional spirit levels and chalk lines.
- Versatility: Use cross-line lasers for tiling and framing, and rotary lasers for larger outdoor landscaping projects.
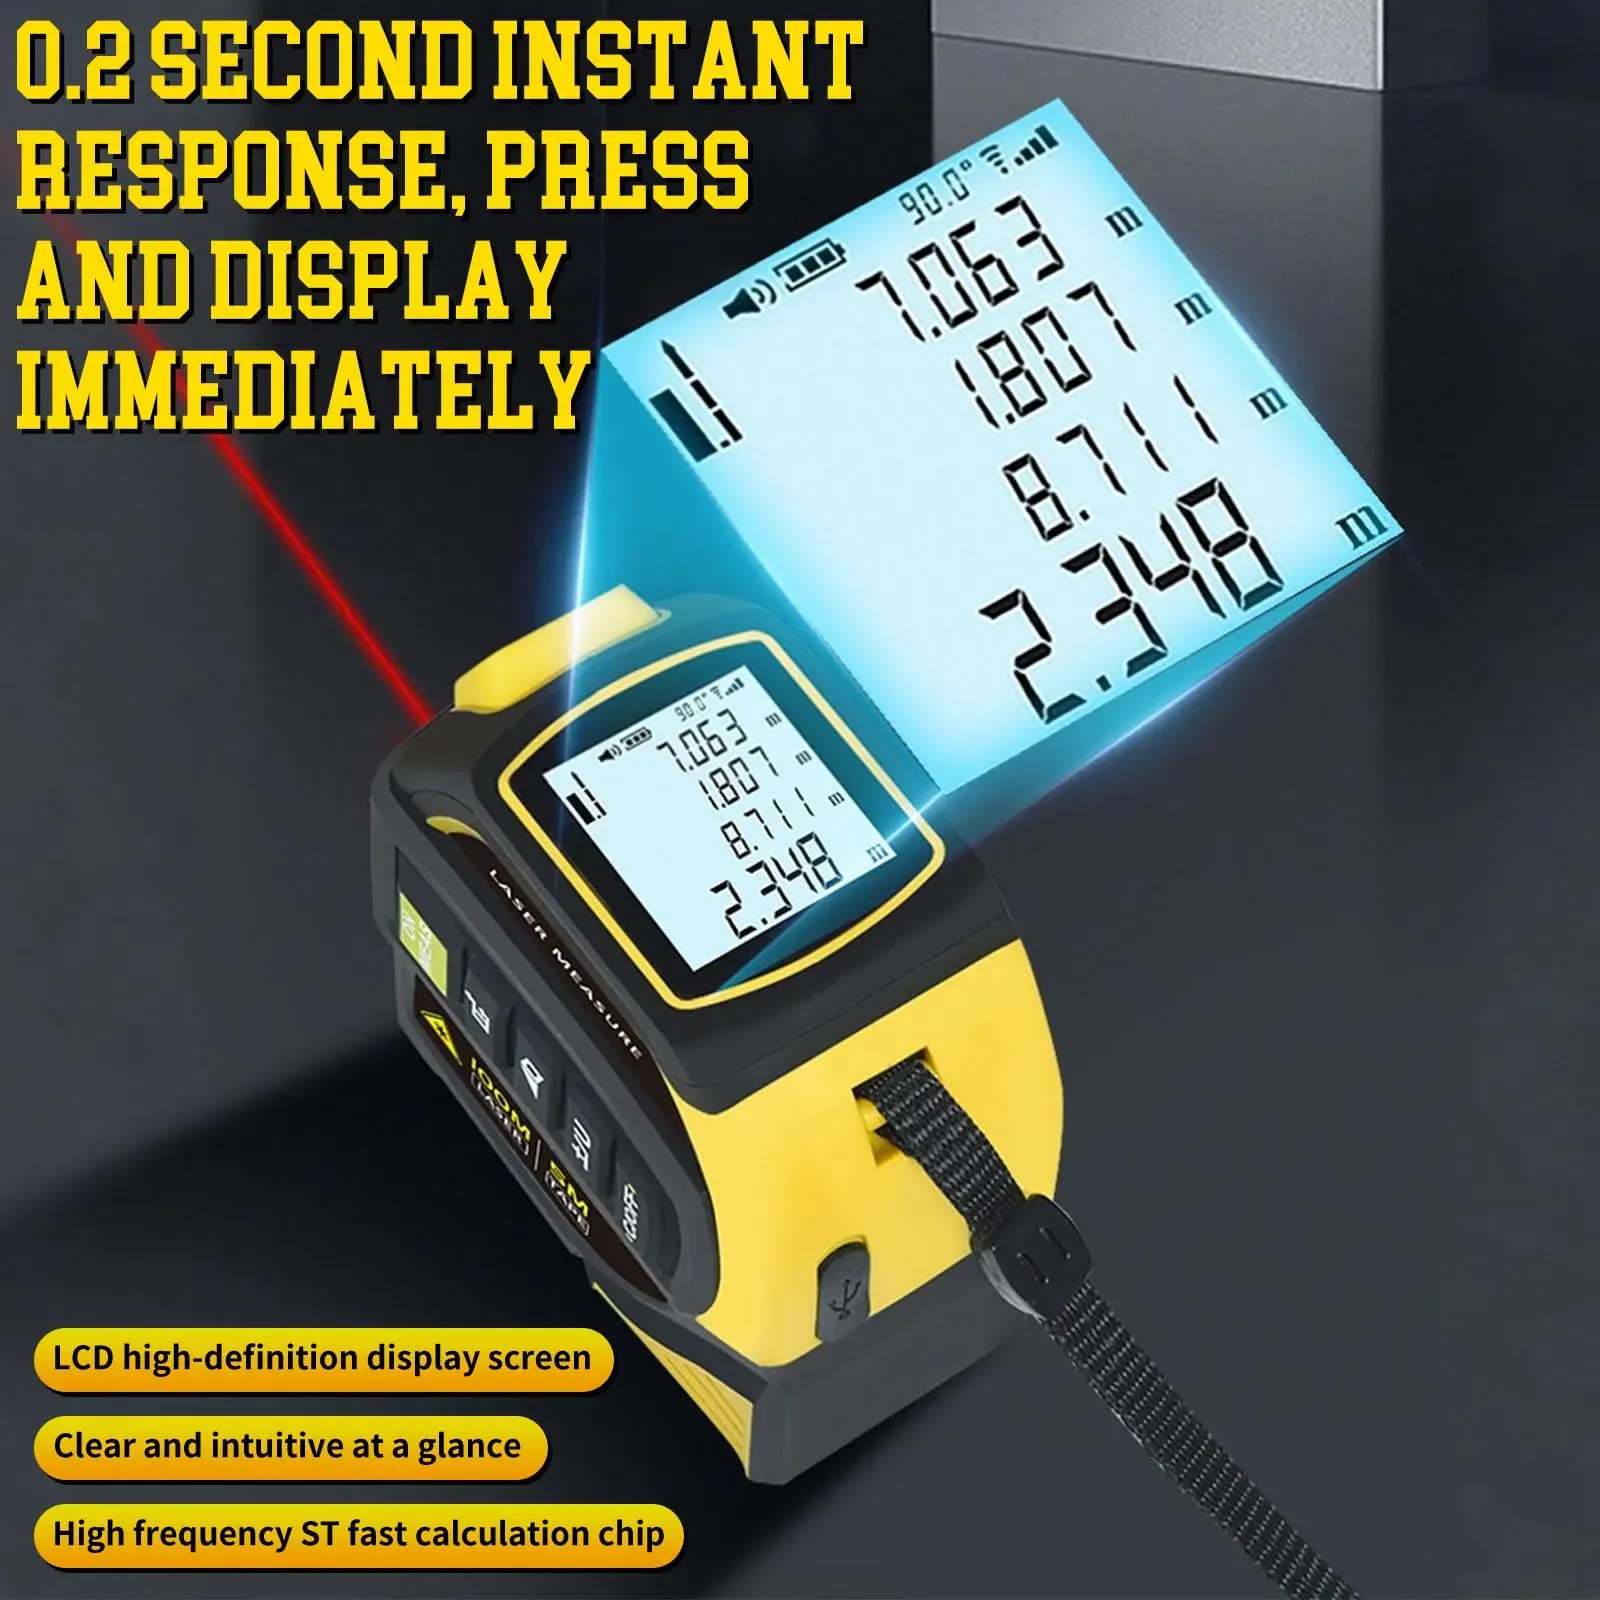
- The Bosch Advantage: The 270g Bosch Atino combines a laser line with an integrated tape measure, allowing for one-person operation.
- Safety First: Always use Class 2 lasers and follow BS EN 60825-1 safety standards to protect your eyesight.
- Accuracy: Modern self-levelling units offer precision within +/- 0.3mm per metre, far exceeding manual capabilities.
The Evolution of Levelling Technology in UK DIY
In the UK, our homes present unique challenges. From the uneven stone walls of a Cotswold cottage to the settling foundations of a post-war semi-detached, finding "true level" is rarely straightforward. Traditional methods involved two people, a long straight-edge, and a lot of guesswork. According to industry data, layout errors account for approximately 10-15% of material wastage in residential construction.
Modern laser level technology eliminates this variance. By using a concentrated beam of light—usually red or green—these devices project a perfectly plumb or level reference line across any surface. For a deeper dive into the physics behind these tools, read our article on How Does a Line Laser Work? The Science of Accuracy.
Types of Laser Levels: Choosing the Right Tool
Before you start your project, you must understand which "laser level for DIYers" suits your specific task. Not all lasers are created equal.
1. Cross-Line Lasers
The most popular choice for interior work. These project both a horizontal and vertical line simultaneously, creating a crosshair. This is essential for tiling, installing shelving, or framing a new stud wall. The Bosch Atino is a specialised version of this, designed to stick directly to the wall, freeing up both your hands.
2. Rotary Laser Levels
Typically used by professional builders for large-scale projects like foundations or site levelling. They project a 360-degree beam. While powerful, they are often "overkill" for internal home DIY and can be significantly more expensive than line lasers.
3. Tile Lasers
Specifically designed for floor layouts, these project lines at 90-degree angles on the ground to ensure your porcelain or ceramic tiles are perfectly squared from the centre of the room.
For a side-by-side comparison of the top models on the market, check out our Best Laser Level UK: 2026 Buying Guide.
Step-by-Step: Setting Up Your Laser Level on a Tripod
To get the most out of your device, proper setup is non-negotiable. While the Bosch Atino features a unique gel-pad and pin mounting system for walls, many other lasers require a tripod for height.
- Position the Tripod: Place the tripod on a stable surface. In UK homes with suspended timber floors, be mindful that walking near the tripod can cause the beam to "bounce."
- Mount the Device: Secure the laser onto the 1/4" or 5/8" thread. Ent is tightened but not forced.
- Power On and Unlock: Most modern lasers have a pendulum lock to protect the internal components during transit. Switch the device to the "on" or "unlocked" position to allow the self-levelling mechanism to engage.
- Wait for Stability: The beam will flicker or blink until it finds level. If the blinking persists, the unit is likely tilted beyond its self-levelling range (usually 4 degrees). Adjust the tripod legs until the beam remains solid.
If you are new to this technology, our guide on How to Use a Self Leveling Laser provides a more detailed breakdown of the internal pendulum system.
How to Use a Laser Level for Wall Framing and Stud Work
Using a laser level for framing is a game-changer for anyone building a partition wall or converting a garage. In the UK, stud walls are typically constructed with 38x63mm or 38x89mm CLS (Canadian Lumber Standard) timber.
Step 1: Marking the Sole Plate
Project your laser line along the floor where the new wall will sit. This ensures the wall is perfectly straight across the room. Use the laser to mark your fixing points, ensuring you avoid any underfloor heating pipes or electrical cables (use a stud finder first).
Step 2: Transferring to the Ceiling
This is where the laser shines. By projecting a vertical line that travels up the wall and across the ceiling, you can perfectly align the head plate (top rail) with the sole plate. Without a laser, this requires a plumb bob and a lot of patience.
Step 3: Setting Vertical Studs
Set your laser to project a vertical line at 400mm or 600mm centres (the standard UK spacing for plasterboard). Align each timber stud with the laser line to ensure the frame is perfectly plumb. This prevents "waves" in your plasterboard, making the skimming process much easier for your plasterer.
"The accuracy of a laser level isn't just about aesthetics; it's about structural integrity. When framing, even a 5mm deviation over a 2.4m height can cause significant issues with door frames and cabinetry down the line." — James Benson, Senior Site Manager.
Measuring Vertical and Horizontal Alignment for Kitchen Fitting
Kitchen fitting is perhaps the most demanding DIY task in a British home. With the average UK kitchen renovation costing between £7,000 and £15,000, you cannot afford to have wonky worktops.
Horizontal Alignment (Worktops and Base Units)
Use the laser to project a "datum line" around the entire room. In the UK, the standard height for a kitchen worktop is 910mm from the floor. Set your laser to this height. You can now adjust the legs of your base units so that every cabinet top kisses the laser line. This accounts for floors that are rarely level.
Vertical Alignment (Wall Units and Tiling)
When hanging wall cabinets, use the vertical cross-line to ensure the units are perfectly upright. If you are installing a splashback, the laser provides a constant reference line for your first row of tiles, ensuring the pattern doesn't "drift" as you move across the wall.
For more inspiration on how to use these tools around the house, see 10 Creative Laser Level Uses for UK Home Renovations.
Why the Bosch Atino Beats the Competition
When searching for the best laser level for DIYers, many people instinctively head to Screwfix or Toolstation to pick up a bulky DeWalt or Erbauer unit. While these are fine for building sites, they are often impractical for home use.
- Weight and Portability: At just 270g, the Bosch Atino is a fraction of the weight of professional units. It doesn't require a heavy tripod for simple tasks.
- All-in-One Functionality: The Atino features an integrated 1.5m tape measure. This allows you to align, measure, and mark in one go—something no DeWalt laser offers.
- Surface Versatility: Thanks to the gel pad (for smooth surfaces like tiles) and pins (for wallpaper or plaster), it sticks directly to where you are working.
- Ease of Use: It is designed for one-person operation. If you live alone or don't have a helper to hold the other end of a tape measure, this tool is essential.
If you are a professional builder looking for heavy-duty options, you might prefer our review of the Best Laser Level for Builders and DIYers in 2026.
Safety Precautions and Battery Maintenance
While DIY is rewarding, safety should always be your priority. The NHS reports thousands of DIY-related injuries every year, many of which are avoidable with the right precautions.
Laser Safety
Most consumer lasers, including the Bosch range, are Class 2. This means they are generally safe because the blink reflex will protect your eyes. However, you should never stare directly into the beam or point it at others (or pets). If working in a room with mirrors, be aware of reflections.
Battery Care in the UK Climate
UK garages and sheds can get damp and cold. If your laser level uses Lithium-Ion batteries, avoid storing it in sub-zero temperatures, as this can degrade the battery's capacity. If you aren't planning to use the tool for several months (e.g., over winter), remove the batteries to prevent any potential leakage or corrosion.
Summary: Ditch the Spirit Level for Good
Mastering how to use a laser level is a milestone for any UK homeowner. It moves your work from "near enough" to "perfect." Whether you are framing a new ensuite, fitting a bespoke kitchen, or simply hanging a gallery wall, the precision afforded by a laser level is unmatched.
While brands like DeWalt and the options found at Screwfix have their place on industrial sites, the Bosch Atino is the superior choice for the domestic environment. It’s compact, incredibly lightweight, and eliminates the need for multiple tools. Stop struggling with bubbles and pencils—upgrade your toolkit and experience the ease of laser-guided accuracy.
Ready to Level Up Your DIY Game?
Experience the precision of the 270g Bosch Atino. Align, measure, and mark in one go.
Skip the bulky DeWalt and Screwfix alternatives. Get the best for your home.
Shop the Bosch Atino NowFrequently Asked Questions
Can I use a laser level outside in bright sunlight?
Standard red beam lasers can be difficult to see in direct UK sunlight. For outdoor work, such as decking or fencing, a green beam laser is recommended as it is up to 4x more visible to the human eye. Alternatively, use a laser receiver.
Is a green laser better than a red laser?
Green lasers are more visible and have a longer range, but they also consume more battery power and are typically more expensive. For most indoor DIY tasks in the UK, a red laser like the Bosch Atino is more than sufficient.
How often should I calibrate my laser level?
For home use, checking the calibration once every six months or after the tool has been dropped is recommended. You can do this by projecting a line onto a wall, marking it, turning the unit 180 degrees, and ensuring the beam still hits the mark.
Will the Bosch Atino gel pad damage my wallpaper?
The gel pad is designed for smooth surfaces. For wallpaper or painted plasterboard where you are concerned about the finish, the Atino comes with a pin-mounting plate that uses two small pins to secure the device with minimal impact—much smaller than a standard picture nail hole.
Ready to upgrade your toolkit with BoschLL?
Get Yours Now — £57.03